
Getting ready for Math 10: intro to ML
I created an introductory machine learning class for math undergrad who has no previous exposure to programming back in Winter 2019 quarter. This post will talk about how to get ready for it.
For the class, we will use three major tools/platforms:
Class format
In lecture, there will be a worksheet type iPython notebook file available for you to download. We will learn to program through live coding. There are empty code cells to fill. When the lecture wraps up, an annotated version of the worksheet will be pushed to GitHub.
During lab sessions of each week, you will see a lab practice and lab assignment (pre-graded by Python in that you have to run all cells to make sure it is runnable, graded by TA), each contains an iPython notebook which has several problems for you to try and reading materials.
A weekly homework will be updated on Canvas as well as on GitHub. For the later part of this class, the homework will be like a mini-project, you will be asked to review anonymously your peer students’ work in order to earn credit for your own homework.
Installing Python and Jupyter Notebook
The computers in MSTB 210 Lab are equipped with Python 3.7 in the Anaconda distribution. If you will be doing your homework/labs solely using machines in the labs, you’re done! The software you need is already installed and configured properly, so there’s nothing else you’ll need to install.
f you wish to perform work on your own computer. The best way to install iPython is to install Anaconda3 distribution with Python 3. Please choose 3.7 version! Anaconda 3 and Anaconda 2 will NOT co-exist if you don’t know how to tweak the PYTHONPATH env variable in the ~/.bash_profile.
If Python complains about “Python – Module Not Found”, please do the following:
On Mac OS/Linux: open up Terminal
Windows: press (Win key)+Q, type “anaconda prompt” in search window, run it.
Now at the prompt, run the following command
conda install <name of the package without bracket>
conda install-c conda-forge <name of the package without bracket>
for example
conda install matplotlib
to install the matplotlib library.
conda install scikit-learn
This will install a machine learning toolbox for Python.
It also noted that running the following commands in sequential order would be helpful before you install anything new:
conda update conda
conda update --all
Changing start-up folder of Jupyter
By default, you can start Jupyter notebook from Anaconda Navigator, the starting directory will your user HOME directory (the directory if you type cd ~ in the Anaconda Prompt on Windows or Terminal on Mac OS/Linux).
If you want to start Jupyter at a specific folder, there are two ways to do it:
-
In the Anaconda Prompt on Windows or Terminal on Mac OS/Linux, use
cd insert_directoryto go the directory of the notebook file, for example, this could becd \Users\yourusername\Documents\Math10on Windows orcd Users/yourusername/Documents/Math10on MacOS/Linux. Now type injupyter notebookat the prompt. -
Follow the second answer at this StackOverflow post: run
jupyter notebook --generate-configin Anaconda Prompt on Windows or Terminal on Mac OS/Linux. This generates a fileC:\Users\yourusername\.jupyter\jupyter_notebook_config.pyon Windows or~/.jupyter/jupyter_notebook_config.pyon MacOS/Linux. Use your favorite text editor to edit this file (Notepad or Notepad++ on Windows, or Vim/Emacs/gedit on MacOS/Linux), find the line#c.NotebookApp.notebook_dir = '', uncommenting this line by removing the sharp sign#, changing the rest toc.NotebookApp.notebook_dir = '\Users\yourusername\Documents'in Windows orc.NotebookApp.notebook_dir = '/Users/yourusername/Documents'in MacOS/Linux. Save the file and restart Jupyter notebook you will find the start-up directory is now changed.
Updating your own repository on GitHub
As a programmer, using a version control tool is a necessary skill. For this class, learning how to use Git and GitHub can be a valuable asset for your success in looking for an internship.
During class or lab session, I highly recommend NOT bringing ANY, ANY of your own device (laptop, USB disk). Instead, download GitHub desktop for Windows on the Lab computer, as well as your own computer. Use GitHub to “sync” everything, or to be precise, maintain every file’s version. Rarely these days any employer will hire a programmer using physical media to transfer and sync the codes, it is extremely inefficient, more importantly, it is detrimental for version control (comparing the updates from different versions).
- Step 1: register at GitHub, and start a new repository:
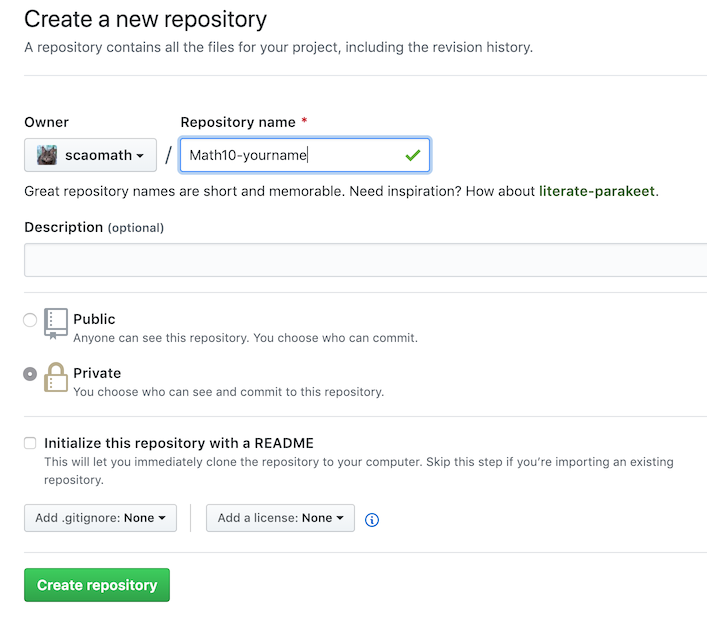
-
Step 2: by default, GitHub will give several options to put codes in your repository. One way is to “import” like follows:

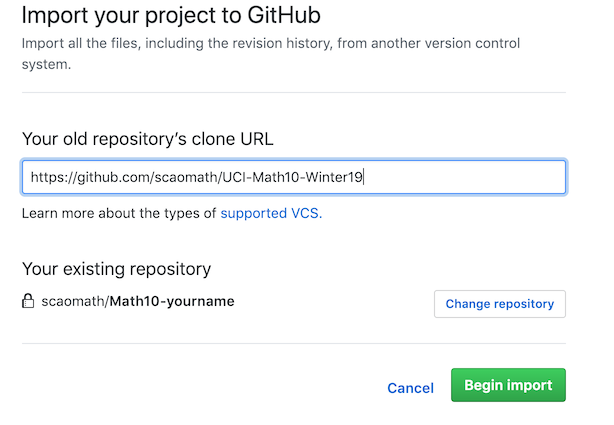
-
Step 3: Import the class repository, and choose Clone->Open in Desktop.
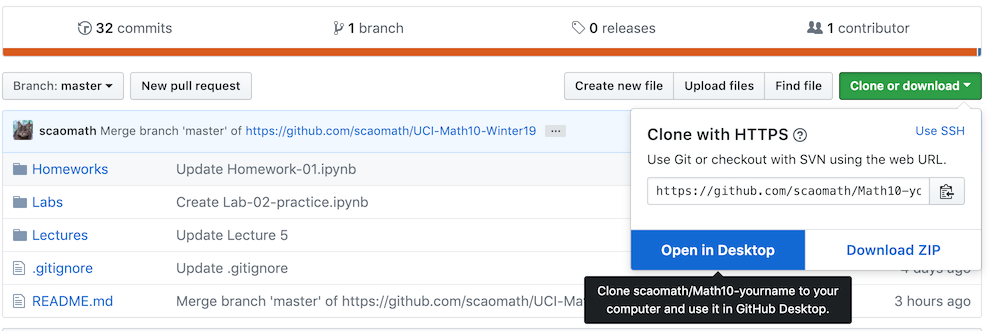
-
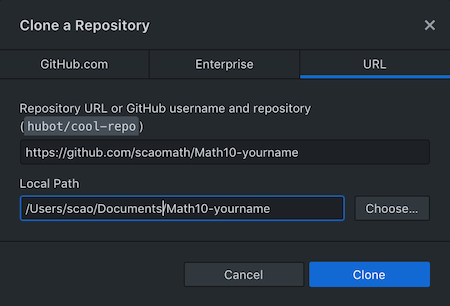
Step 4: Choose a handy location in your local folder, both at the computer Lab at school and at your own computer. When downloading the new
.ipynbfile from Canvas, save these files in your local repository folder.
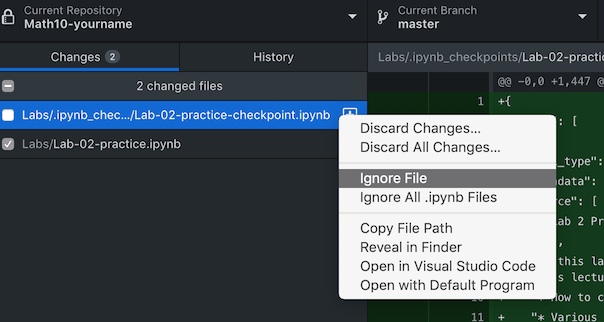
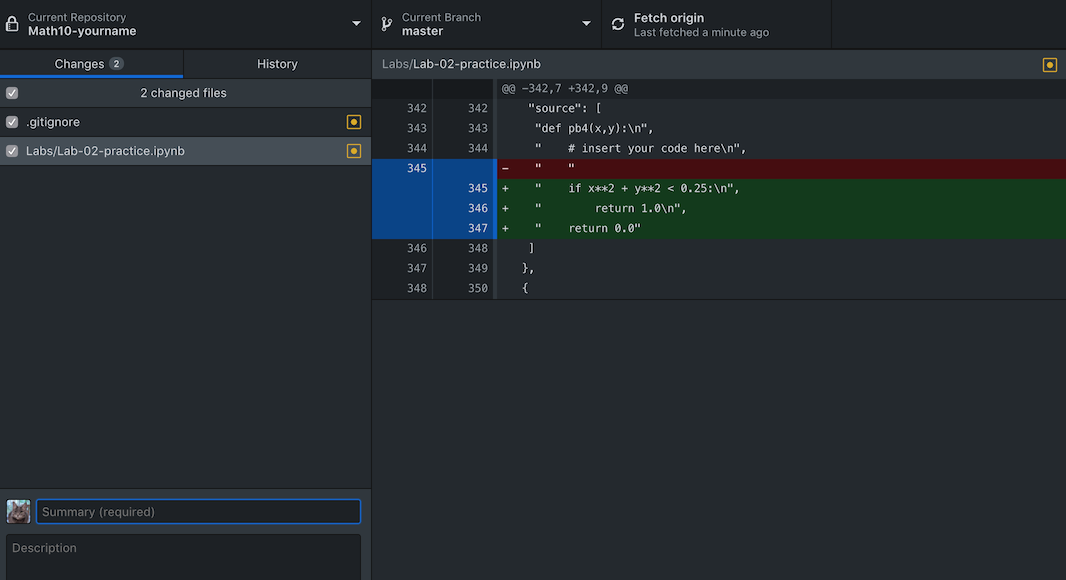
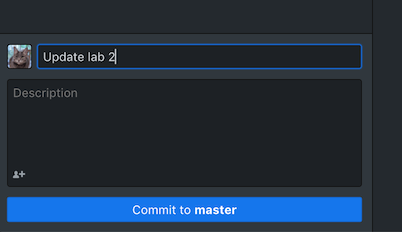
- Step 5: After editing or changing anything, GitHub desktop will automatically notify you that something has changed. You can “stage the change” by checking the box in front of a file for “commit” (record the change locally including differences with previous version), or you can choose to ignore certain files/changes (for example, you can ignore all the checkpoint files which are like autosaves). Clicking the “commit” button with an update message will formally record the version changes for the file(s) you checked. Here “master” means a branch, you can have multiple branches of codes, where you can test different implementations on the same idea, for example, or you may have different dependence on other packages, Python 2 vs 3 for example.
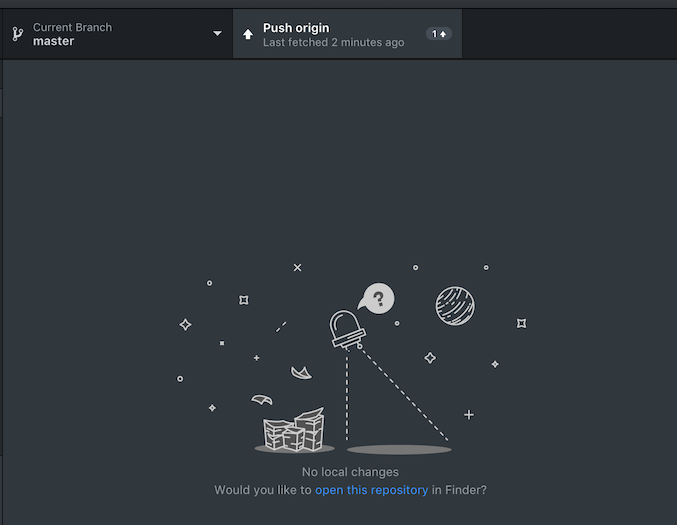
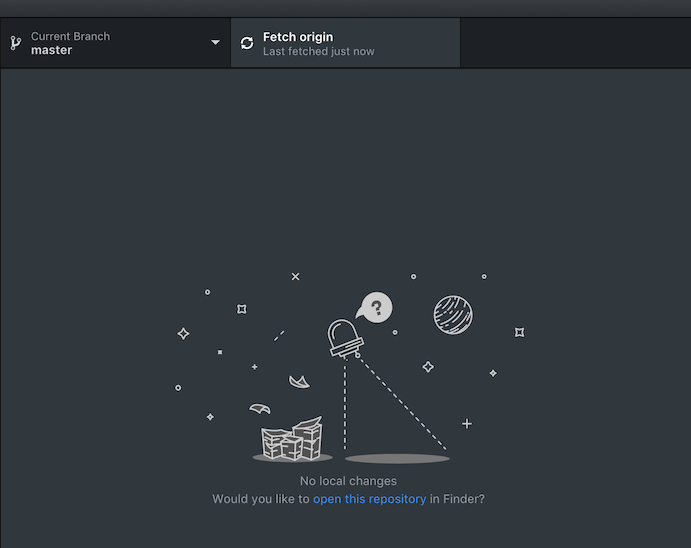
- Step 6: Syncing with the cloud. After typing an update message and click “commit”, press “Push origin”, now the local changes are synced to the GitHub. After you got back home, if you want to sync the changes on your own computer, you can open up GitHub desktop, choose “Fetch origin” to record the newest change, then “Pull origin” to change the actual files.
Comments