How to undervolt Nvidia GPUs on Linux
Build a budget deep learning workstation with RTX 3090 Part Three: Undervolt and Set a Power Limiter on an Nvidia GPU
(Update as of May 2025) This instruction to “undervolt” (set a power limit but make the memory run at a higher frequency) still applies to Ubuntu 24.04 and any newer RTX GPU (tested on A4000, A6000, and RTX 4090).
How to undervolt the GPU on Ubuntu
On Windows there is the famous MSI Afterburner to dial down the voltage of the GPU, so that the overall heat will be significantly reduced, yet the performance takes only minor hit because the clock of the GPU will be higher.
Add a power limiter (New)
(Update as of Nov 2022) I notice this method in /etc/rc.local has been executed but got superseded by something else as the script rc.local always was run first. So here is an updated better way to do it.
The other way to start a command with sudo is to add a service. For example, create /etc/systemd/system/gpu-limit.service with sudo using either Vim or Gedit:
sudo gedit /etc/systemd/system/gpu-limit.service
and then add the following lines to the file:
[Unit]
Description=GPU power limiter
After=network.target
StartLimitIntervalSec=0

[Service]
User=root
Type=simple
Restart=always
RestartSec=1
ExecStart=/usr/bin/nvidia-smi -i 0 -pl 280

[Install]
WantedBy=multi-user.target
Note the user has to be root otherwise there will be some exit code error complaining not enough privileges.
After this just do to let the service gpu-limit to run on startup (and start it now)
sudo systemctl daemon-reload & \
sudo systemctl enable gpu-limit.service & \
sudo systemctl start gpu-limit.service
To make sure this limiter is working
sudo systemctl status gpu-limit.service
should tell you the exit code is 0.
gpu-limit.service - GPU power limiter
    Loaded: loaded (/etc/systemd/system/gpu-limit.service; enabled; vendor preset: enabled)
    Active: activating (auto-restart) since Sun 2022-12-11 13:07:16 CST; 279ms ago
    Process: 41560 ExecStart=/usr/bin/nvidia-smi -i 0 -pl 280 (code=exited, status=0/SUCCESS)
   Main PID: 41560 (code=exited, status=0/SUCCESS)
Add a frequency offset
Next step is to set a frequency offset to 105Mhz, so that during active computing, the GPU core will be kicking off and running at a frequency of 105Mhz higher than designed. Again, adding the following script as a startup application will do the magic:
nvidia-settings -a '[gpu:0]/GPUGraphicsClockOffset[4]=105' -a '[gpu:0]/GPUGraphicsClockOffset[3]=105' -a '[gpu:0]/GPUGraphicsClockOffset[2]=105'
The result is promising, using the default tensorflow CNN benchmark default setting:
python3 tf_cnn_benchmarks.py --model resnet50 --batch_size 64
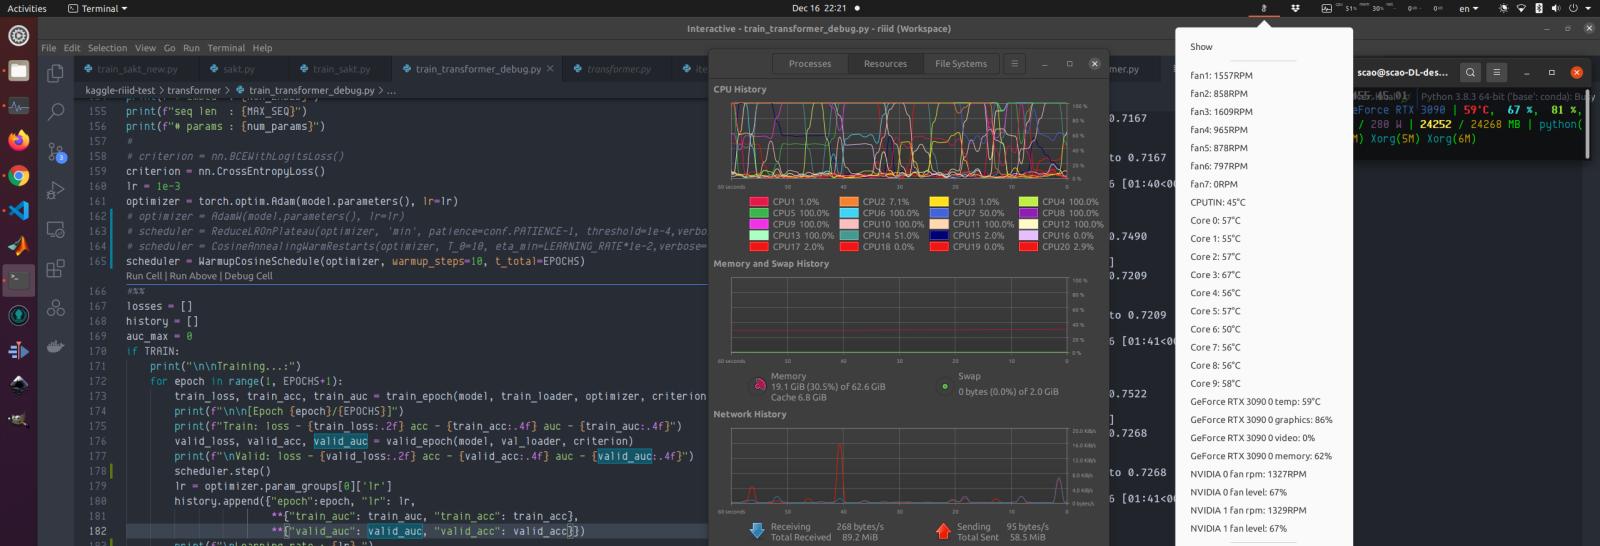
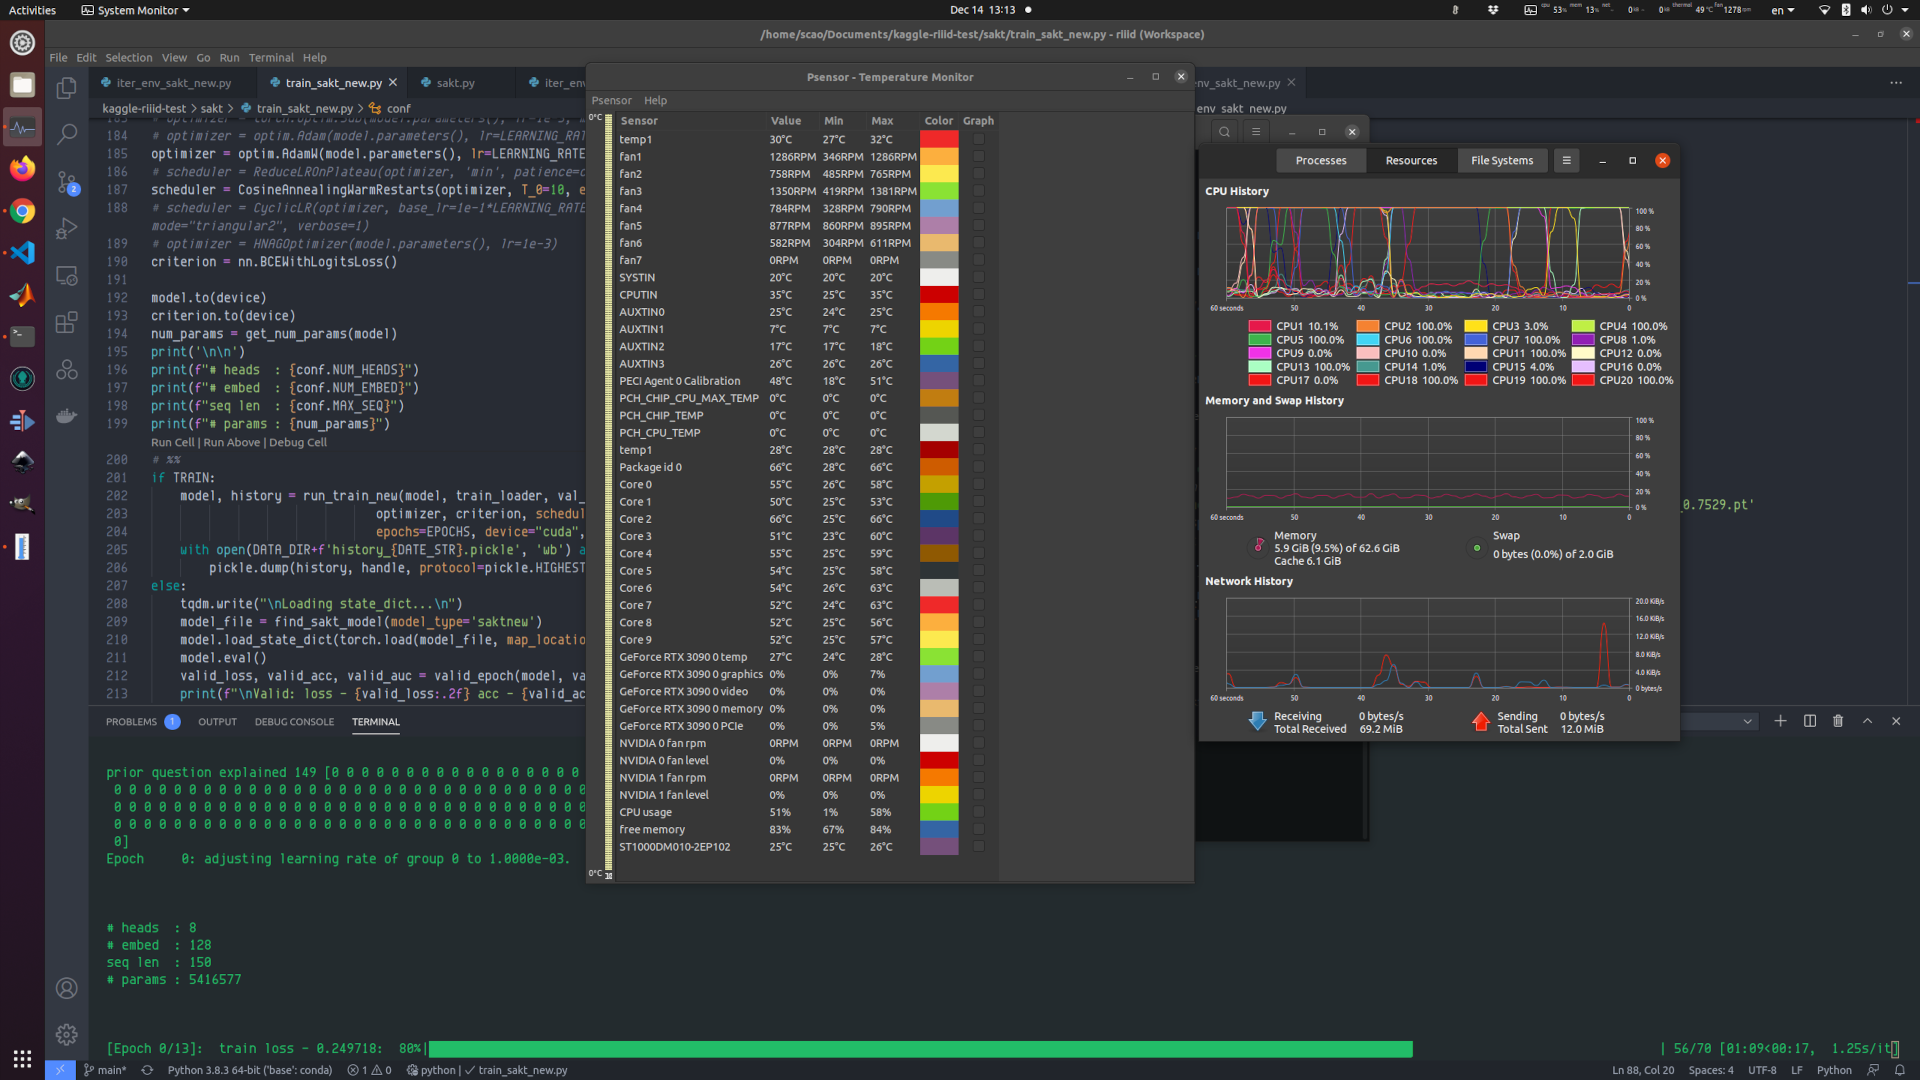
The 280W/105Mhz offset can do 447 images/sec, while the stock 350W setting is at 471 images/sec. The performance hit is about 5%, yet the peak power is down 20%. The GPU can now sustain running at a relatively low temperature (55-62 degrees Celsius when being at full load) for an extended period of time (1 or 2 days non-stop). The sacrifice is totally worth it.
Add a power limiter (DEPRECATED)
On Ubuntu there is no native Afterburner, but we can config things to achieve something similar. First edit or create /etc/rc.local, and add the following to the file:
# ⚠️ DEPRECATED METHOD - See updated method above ⚠️
#!/bin/bash
sudo nvidia-smi -i 0 -pl 280
exit 0
Note
#!/bin/bash part is necessary. Basically this script let the system start with those commands with sudo (regular startup setup in Ubuntu won’t let you do that).The switch -pl 280 means power limit being 280W (the stock power is 350W).
Other parts in the “Build a budget ML workstation”
- Part Zero: Random tidbits: a newbie’s story to build a budget machine learning workstation.
- Part One: Building: assembling the parts and how to deal with the bent of the big and heavy RTX 3090.
- Part Two: software and CUDA: we will learn how to install CUDA and PyTorch, and how to config Ubuntu so that the GPU is NOT used for graphics displaying but only for CUDA computing.
- Bonus part: productivity for MAC users: as a long time MacOS user, we will learn how to config an almost MacOS like keyboard on Linux.
Comments